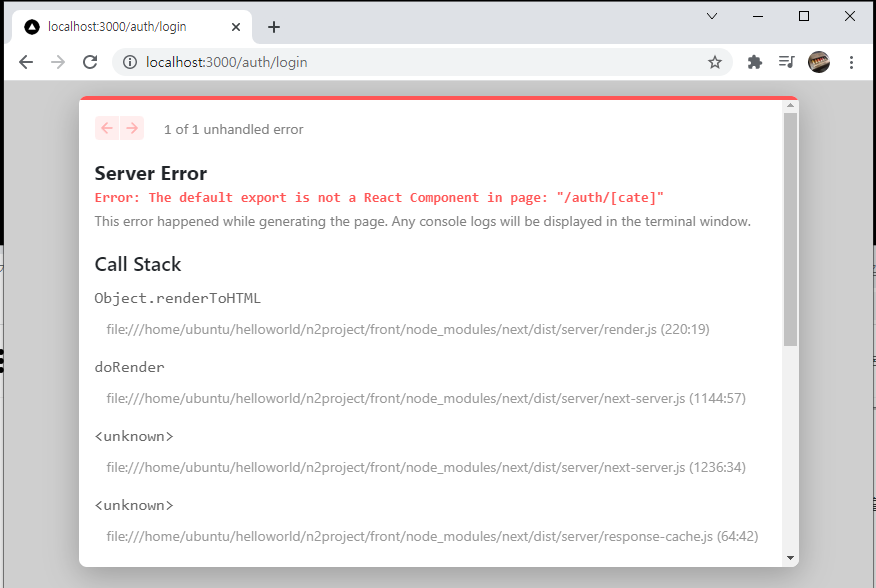
전 포스트에서 NextJS 프론트에서 데이터를 요청하는것 까지 해보았다. 이번엔 백엔드를 설계해보자.
먼저 해당 포스트로 접속해 mongoose 까지 설치해준다.
https://typo.tistory.com/entry/Nestjs-MongoDB-Schema?category=895068
Nest.js | MongoDB | Schema
이 글은 NestJS document 사이트 기반으로 작성했습니다. https://docs.nestjs.kr/techniques/mongodb 네스트JS 한국어 매뉴얼 사이트 네스트JS 한국, 네스트JS Korea 한국어 매뉴얼 docs.nestjs.kr 몽고DB설치하..
typo.tistory.com
- mongoose 설치
$ npm install --save @nestjs/mongoose mongoose
혹시 기존에 생성했던 apple 리소스가 있다면 삭제해준다.
app.module.ts 를 다음과 같이 수정한다.
app.module.ts
import { Module } from '@nestjs/common';
import { AppController } from './app.controller';
import { AppService } from './app.service';
import { MongooseModule } from '@nestjs/mongoose';

@Module({
  imports: [MongooseModule.forRoot('mongodb://test:test1234@localhost:27017/admin')],
  controllers: [AppController],
  providers: [AppService],
})
export class AppModule {}
user 리소스를 생성해준다.
$ nest g res apple
app.module.ts
import { Module } from '@nestjs/common';
import { AppController } from './app.controller';
import { AppService } from './app.service';
import { MongooseModule } from '@nestjs/mongoose';
import { UserModule } from './user/user.module';

@Module({
  imports: [MongooseModule.forRoot('mongodb://test:test1234@localhost:27017/admin'), UserModule],
  controllers: [AppController],
  providers: [AppService],
})
export class AppModule {}
그럼 이렇게 파일들과 자동으로 import되는것을 볼 수 있다.
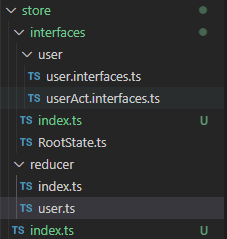
schemas 폴더를만들고 user.schema.ts 파일을 작성해준다.
/src/user/schemas/user.schemas.ts
import { Prop, Schema, SchemaFactory } from '@nestjs/mongoose';
import { Document } from 'mongoose';

export type UserDocument = User & Document;

@Schema()
export class User {
  @Prop()
  id: string;

  @Prop()
  pw: string;

  @Prop()
  email: string;

  @Prop()
  address: string;
}

export const UserSchema = SchemaFactory.createForClass(User);
user.module.ts에 userSchema에 관한 내용을 import해준다. 여기서 id부분은 자동으로 1씩 더해서 추가해주기위해 임의로 정의한 것이다.
user.module.ts
import { Module } from '@nestjs/common';
import { MongooseModule } from '@nestjs/mongoose';
import { UserService } from './user.service';
import { UserController } from './user.controller';
import { User, UserSchema } from './schemas/user.schema';

@Module({
  imports: [MongooseModule.forFeature([{ name: User.name, schema: UserSchema }])],
  controllers: [UserController],
  providers: [UserService]
})
export class UserModule {}
우리는 일단 아이디 중복 확인을 위해 다음 @Get(':id') 데코레이터만 쓸 것이다. 우리는 사용자 id를 string으로 받을 것이기 때문에 수정해주자.
user.controller.ts
  @Get(':id')
  findOne(@Param('id') id: string) {
    return this.userService.findOne(id);
  }
service 부분에 mongoose schema를 추가한다.
user.service.ts
import { Injectable } from '@nestjs/common';
//mongoose
import { Model } from 'mongoose';
import { InjectModel } from '@nestjs/mongoose';
import { User, UserDocument } from './schemas/user.schema';
//dto
import { CreateUserDto } from './dto/create-user.dto';
import { UpdateUserDto } from './dto/update-user.dto';

@Injectable()
export class UserService {
  constructor(@InjectModel(User.name) private userModel: Model<UserDocument>) {}

  findOne(id: string) {
    return `This action returns a #${id} user`;
  }

}
findOne 함수를 async 함수로 바꿔주고( mongoose Query은 Promise 함수입니다. ) 지금은 중복확인으로 result 값만 필요하지만 나중에 로그인 할 때 이 함수를 써서 유저의 정보를 받아와야하기 때문에 id에 맞는 유저의 data가 존재할 때 user도 result와 함께 반환해준다.
user.service.ts
import { Injectable } from '@nestjs/common';
//mongoose
import { Model } from 'mongoose';
import { InjectModel } from '@nestjs/mongoose';
import { User, UserDocument } from './schemas/user.schema';
//dto
import { CreateUserDto } from './dto/create-user.dto';
import { UpdateUserDto } from './dto/update-user.dto';

@Injectable()
export class UserService {
  constructor(@InjectModel(User.name) private userModel: Model<UserDocument>) {}

  async findOne(id: string) {
    const userOne = await this.userModel.findOne({id});
    if(userOne)
      return {result : false, user : userOne}
    else
      return {result : true}
  }

}
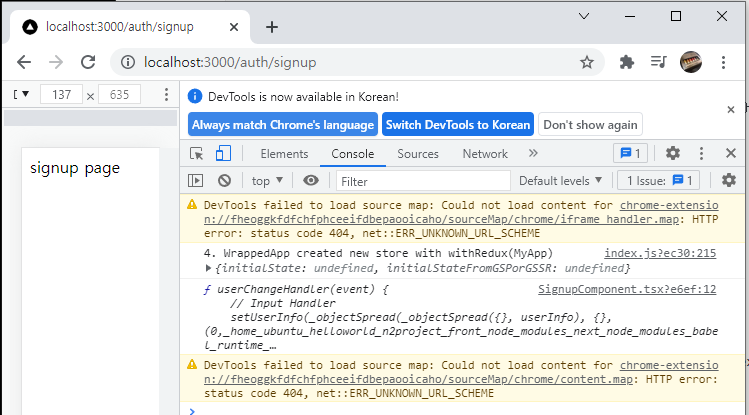
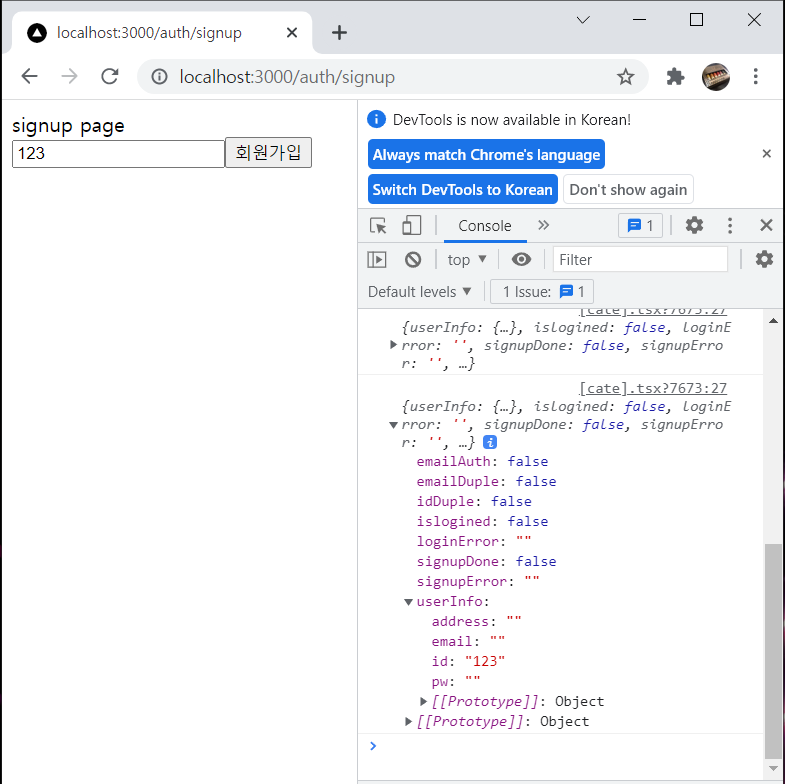
이제 npm start dev로 백엔드를 실행하고 중복확인 버튼을 눌러보자.
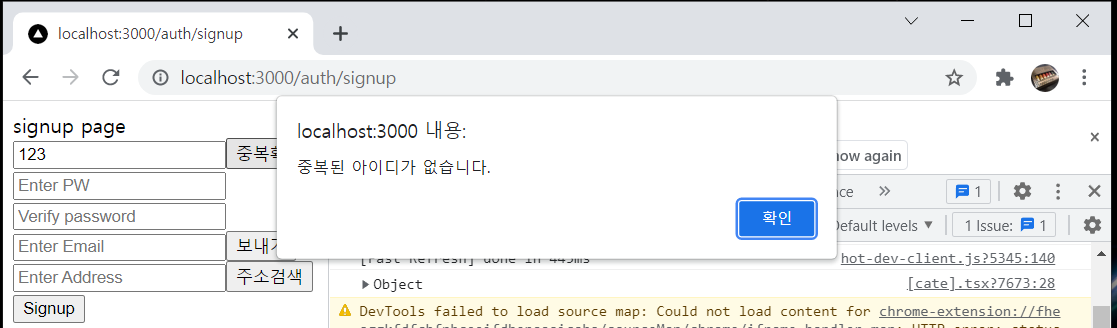
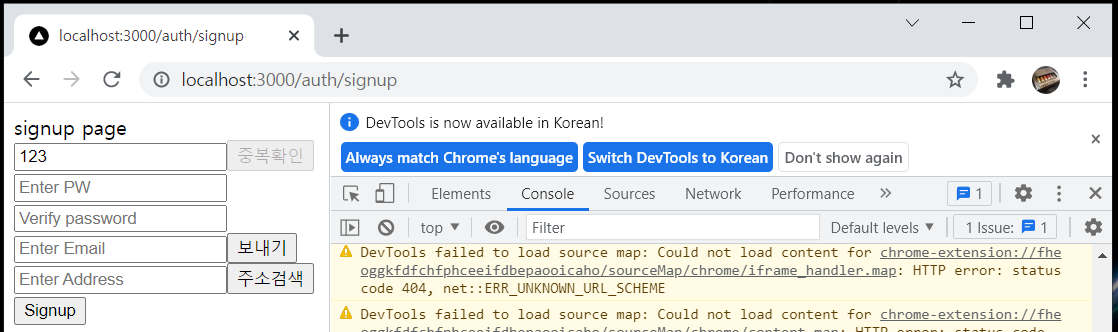
정상적으로 중복확인 버튼이 disabled가 되었다.
'Nest - Next' 카테고리의 다른 글
| Nest - Next | n2server | Signup | Email Send(2) (0) | 2021.10.20 |
|---|---|
| Nest - Next | n2server | Signup | Password, Email Send(1) (0) | 2021.10.20 |
| Nest - Next | n2server | Signup | ID_Duplicate(front) (0) | 2021.10.19 |
| Nest - Next | n2server | Signup | onChangeHandler (0) | 2021.10.19 |
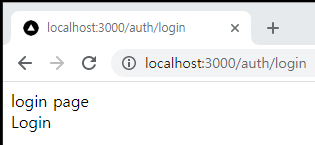
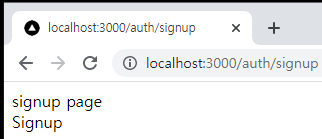
| Nest - Next | n2server | Login, Signup Pages (0) | 2021.10.18 |