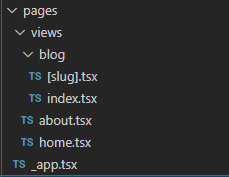
이번 포스트는 주로 pages폴더를 분석할 것이다. 차근차근 _app.tsx 파일부터 보자.
app.tsx
import { FC } from 'react';
import type { AppProps /*, AppContext */ } from 'next/app';
import Sidebar from '../components/sidebar';

const MyApp: FC<AppProps> = ({ Component, pageProps }) => {
  console.log(Component)
  console.log(pageProps)
  return (
    <div style={{ display: 'flex', maxWidth: 1100 }}>
      <div style={{ flexBasis: '30%', margin: 25 }}>
        <Sidebar />
      </div>
      <div style={{ flexBasis: '70%', margin: 25 }}>
        <Component {...pageProps} />
      </div>
    </div>
  );
};

export default MyApp;
FC와 AppProps는 타입스크립트를 위한 모듈이다.
Sidebar 컴포넌트를 import하고 최상위인 MyApp에 Sidebar와 Component를 사용하였다.
파라미터인 Component와 pageProps를 로그로 확인해보면
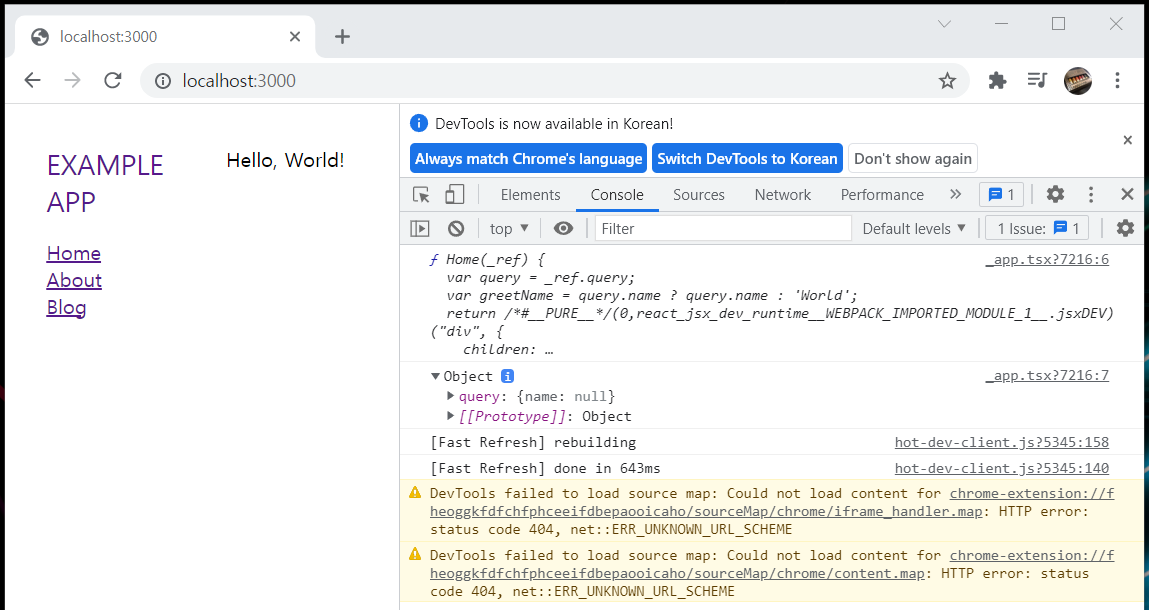
Component는 리액트 Myapp에서도 쓰이는 함수이고, Nest에서 '/'경로에 home 을 렌더링 해주었기 때문에 home.tsx가 들어온다. pageProps는 Nest에서 넘겨주었던 name 파라미터가 null로 담겨있는것을 확인할 수 있다.
FC의 사용법은 아래 링크로 자세히 볼 수 있다.
https://react.vlpt.us/using-typescript/02-ts-react-basic.html
2. 리액트 컴포넌트 타입스크립트로 작성하기 · GitBook
2. 리액트 컴포넌트 타입스크립트로 작성하기 이번 섹션에서는 리액트 컴포넌트를 타입스크립트로 작성하는 방법을 알아보도록 하겠습니다. 프로젝트 생성 우선, 타입스크립트를 사용하는 리
react.vlpt.us
home.tsx
import * as React from 'react';
import { NextPage, NextPageContext } from 'next';

interface Props {
  query: { name?: string };
}

const Home: NextPage<Props> = ({ query }) => {
  const greetName = query.name ? query.name : 'World';

  return (
    <div>
      <div>Hello, {greetName}!</div>
    </div>
  );
};

export async function getServerSideProps(ctx: NextPageContext) {
  const query = {
    name: ctx.query.name || null,
  };
  return { props: { query } };
}

export default Home;
next에서 NextPage,NextPageContext를 import해서 Home과 getServerSideProps 에서 사용하였다.
서버사이드렌더링으로 Nest로부터 name 값을 query로 가져왔고 Home 에 props로 넘겨주었다.
이 때 Home은 next에서 import되었던 NextPage의 타입을 따르며 파라미터는 interface로 선언했던 Props를 따른다.
about.tsx 파일은 나중에 클라이언트 측 API요청을 할 때 설명하겠다.
pages/views/blog/index.tsx
import * as React from 'react';
import { NextPage, NextPageContext } from 'next';
import { IPost } from '../../../types';
import PostPreview from '../../../components/post-preview';
import { BlogService } from '../../../src/blog/blog.service';

interface Props {
  posts: IPost[];
  source: string;
}

const Blog: NextPage<Props> = ({ posts, source }) => {
  return (
    <div>
      <h1>blog</h1>
      <div>
        {posts.map((post) => (
          <PostPreview key={post.slug} post={post} />
        ))}
      </div>
      <div style={{ fontStyle: 'italic', fontSize: 14 }}>
        this page was rendered on the {source}
      </div>
    </div>
  );
};

export async function getServerSideProps(ctx: NextPageContext) {
  const props: Props = {
    source: 'server',
    posts: ctx.query.posts as any,
  };

  if (!Array.isArray(props.posts)) {
    const service = new BlogService();
    props.posts = service.all();
    props.source = 'client';
  }

  return { props };
}

export default Blog;
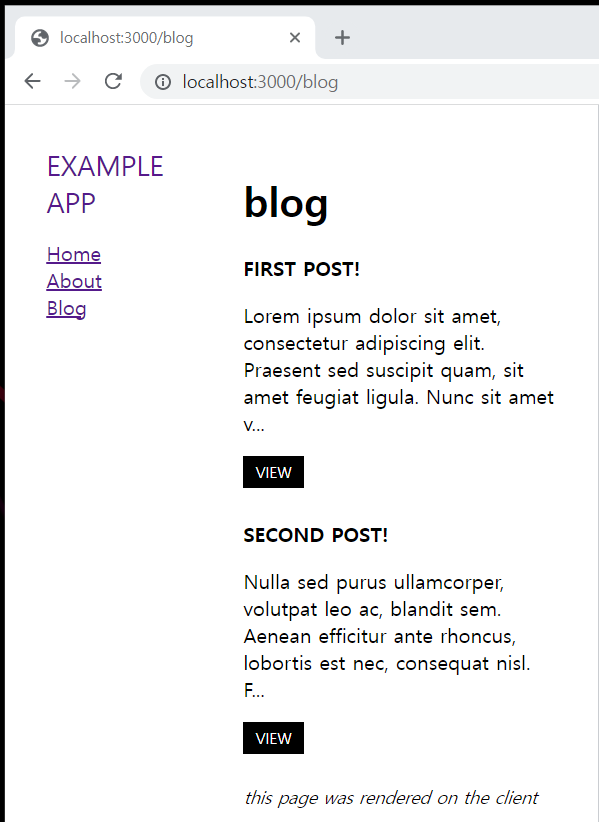
Nest에서 우린 '/blog'에 'blog'를 렌더링해주었다. 때문에 '/blog'경로로 접속하면 blog/index.tsx 파일이 반환된다.
아까 _app.tsx에서 확인했었던 log를 보면,
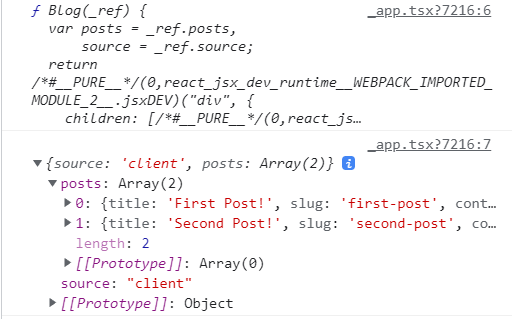
이렇게 Blog 컴포넌트가 잘 들어왔고, pageProps에 Nest에서 준 데이터와 getServerSideProps에서 넘겨준
데이터가 잘 들어온 것을 확인할 수 있다.
interface Props {
  posts: IPost[];
  source: string;
}
Props 인터페이스를 만들어 타입을 지정했다.
export async function getServerSideProps(ctx: NextPageContext) {
  const props: Props = {
    source: 'server',
    posts: ctx.query.posts as any,
  };

  if (!Array.isArray(props.posts)) {
    const service = new BlogService();
    props.posts = service.all();
    props.source = 'client';
  }

  return { props };
}
props 변수를 선언하고, source에는 임의로 'server'를 넣고, posts 쪽에 Nest에서 받은 데이터를 넣어주었다.
확인해보니 이 코드에선 Nest에서 보내준 데이터라 getServerSideProps 에 ctx로 잘 못들어오는 것을 확인했다.
if 구문에서 쓰고있는 Service는 Nest의 Service클래스라 사실 쓰지 않는것이 좋다.
굳이 NestJS와 NextJS를 섞어서 개발을 한다면 쓸 수는 있겠지만 서버 인프라를 구축할 때 프론트와 백엔드를 나눠야 할 때를 생각하면 각각 쓰는 메소드가 분리되어야 무조건 좋다. 이런 방법이 있구나 정도만 알고 이렇게 쓰는것보단 axios로 ServerSideProps에서 값을 받아오도록 하자.
'Nest - Next' 카테고리의 다른 글
| Nest - Next | n2server | Login, Signup Pages (0) | 2021.10.18 |
|---|---|
| Nest - Next | n2server | Next Redux 세팅하기 (0) | 2021.10.18 |
| Nest - Next | n2server | 시작하기 (0) | 2021.10.15 |
| Nest - Next | nest-next npm | 백엔드(NestJS) (0) | 2021.10.14 |
| Nest - Next | nest-next npm | 시작하기 (0) | 2021.10.14 |