nest-next npm 카테고리에서 우리는 프론트엔드와 백엔드를 어느정도 통합시킨 프로젝트를 진행했었다.
서버를 개발하다보면 규모가 커지고, 보안상의 이유로 프론트엔드와 백엔드를 나눠야 할 때가 있다.
React를 쓸 때는 명확하게 client와 server로 나눠서 개발을 진행했었다.
이번에는 NextJS와 NestJS로 분리된 서버를 만들어보겠다.
Pakage 설치
1. 먼저 필요한 npm, node, npx들을 설치한다.
$ sudo apt-get install npm
$ sudo npm i -g n
$ sudo n 14.18.1
$ sudo npm i npx -g
2. create-next-app( Next.js 프로젝트를 생성하고 기본 패키지를 설치해주는 프로그램)을 설치한다.
$ sudo npm i create-next-app -g
3. @nestjs/cli(NestJS 프레임워크)를 설치한다.
$ sudo npm i -g @nestjs/cli
Front-End 구축
1. front라는 이름의 NextJS 프로젝트를 생성한다.
$ npx create-next-app front --typescript--typescript 옵션을 추가하면 NextJS 프로젝트가 typescript 버전으로 설치된다.
front 디렉토리로 이동해서 개발모드로 서버를 실행해보자.
eslint 설치
$ npx eslint --init

npx eslint --init
✔ How would you like to use ESLint? · style
✔ What type of modules does your project use? · esm
✔ Which framework does your project use? · react
✔ Does your project use TypeScript? · No / Yes
✔ Where does your code run? · browser
✔ How would you like to define a style for your project? · guide
✔ Which style guide do you want to follow? · airbnb
✔ What format do you want your config file to be in? · JavaScript
Checking peerDependencies of eslint-config-airbnb@latest
The config that you've selected requires the following dependencies:

eslint-plugin-react@^7.21.5 @typescript-eslint/eslint-plugin@latest eslint-config-airbnb@latest eslint@^5.16.0 || ^6.8.0 || ^7.2.0 eslint-plugin-import@^2.22.1 eslint-plugin-jsx-a11y@^6.4.1 eslint-plugin-react-hooks@^4 || ^3 || ^2.3.0 || ^1.7.0 @typescript-eslint/parser@latest
✔ Would you like to install them now with npm? · No / Yes
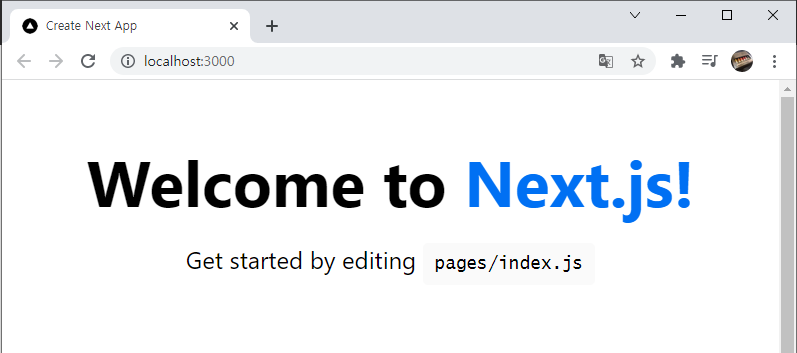
$ npm run dev2. locallhost:3000으로 접속해서 웹페이지가 정상적으로 뜨는지 확인한다.
Back-End 구축
1. back이라는 이름의 NestJS 프로젝트를 생성한다.
$ nest new back
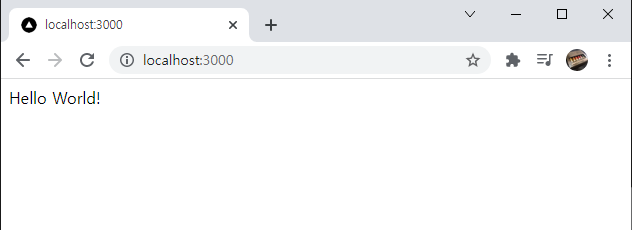
2. back 폴더로 들어가 개발모드로 서버를 실행해보자. 아직 포트를 둘다 3000번을 쓰고있기 때문에 Next 서버를 먼저 종료하고 실행해보자.
$ npm run start:dev
Front-Back 연동
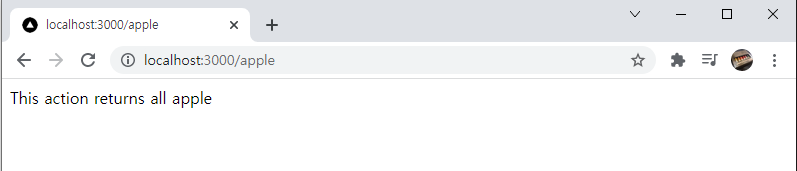
1. Back-End에 새로운 리소스 apple을 추가해보자. 먼저 nest에 apple이라는 resource를 하나 만들어준다.
$ nest g res apple
2. localhost의 3000번 포트로 확인해본다
Back-End 포트 변경
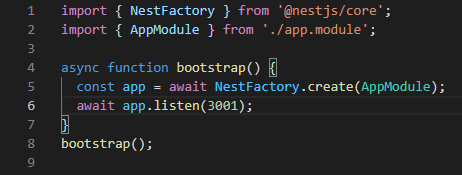
1. back/src/main.ts 의 파일을 열어 기존 3000번 포트를 3001번으로 바꾼다.
Front-End 프록시 설정
Front에서 Back의 API를 쓰기위해 프록시를 설정해주어야 한다.
1. 먼저 .env 파일을 생성하고 다음과 같이 작성한다.
.env
SOURCE_PATH = '/api/:path*'
DESTINATION_URL = 'http://localhost:3001/:path*'
2. 그다음 next.config.js 파일을 수정해준다.
next.config.js
module.exports = {
  reactStrictMode: true,
  async rewrites() {
    console.log(process.env.NODE_ENV)
    if (process.env.NODE_ENV !== 'production') {
      return [
        {
          source: process.env.SOURCE_PATH,
          destination: process.env.DESTINATION_URL,
        },
      ];
    }
    else {
      return [
        {
          source: process.env.SOURCE_PATH,
          destination: process.env.DESTINATION_URL,
        },
      ];
    }
  },
}
3. 프록시 설정이 끝났다. 이제 front 서버와 back 서버를 실행하고 localhost:3000/api/apple에 접속해보자.
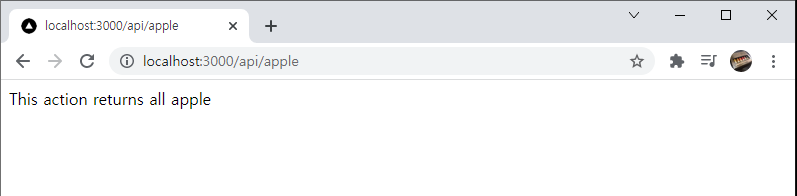
NextJS가 열린 3000번 포트에서 /api 경로를타니 3001번 포트에 열린 NestJS의 자원을 쓸 수 있는것을 확인할 수 있다.
'Nest - Next' 카테고리의 다른 글
| Nest - Next | n2server | Login, Signup Pages (0) | 2021.10.18 |
|---|---|
| Nest - Next | n2server | Next Redux 세팅하기 (0) | 2021.10.18 |
| Nest - Next | nest-next npm | 프론트엔드(NextJS) (0) | 2021.10.14 |
| Nest - Next | nest-next npm | 백엔드(NestJS) (0) | 2021.10.14 |
| Nest - Next | nest-next npm | 시작하기 (0) | 2021.10.14 |