728x90
반응형
Password
비밀번호와 비밀번호 확인부터 해보자.
비밀번호 확인란 텍스트 state를 만들어준다.
const [pwdCertText,setPwdCertText] = useState<string>('');
비밀번호 확인에 관한 state는 이 페이지 안에서만 사용될 것이다.
그다음 다음과 같이 코드를 작성해준다.
(...)
  <div>
      <input
          style={{ borderColor : (userState.userInfo.pw.length < 4) ? 'red' : 'lightgreen' }}
          name="pw"
          type="password"
          placeholder="Enter PW"
          onChange={userChangeHandler} />
      <p style={{color : 'red', fontSize: 5}}>
          {(userState.userInfo.pw.length < 4) ? '4글자 이상 입력해주세요' : ''}
      </p>
  </div>
  <div>
      <input
          style={{ borderColor : (userState.userInfo.pw !== pwdCertText) ? 'red' : 'lightgreen' }}
          name="pw2"
          type="password"
          placeholder="Verify password"
          value={pwdCertText}
          onChange={(event) => { setPwdCertText(event.target.value)}}/>
      <p style={{color : 'red', fontSize: 5}}>
          {(userState.userInfo.pw !== pwdCertText) ? '비밀번호가 다릅니다' : ''}
      </p>
  </div>
(...)
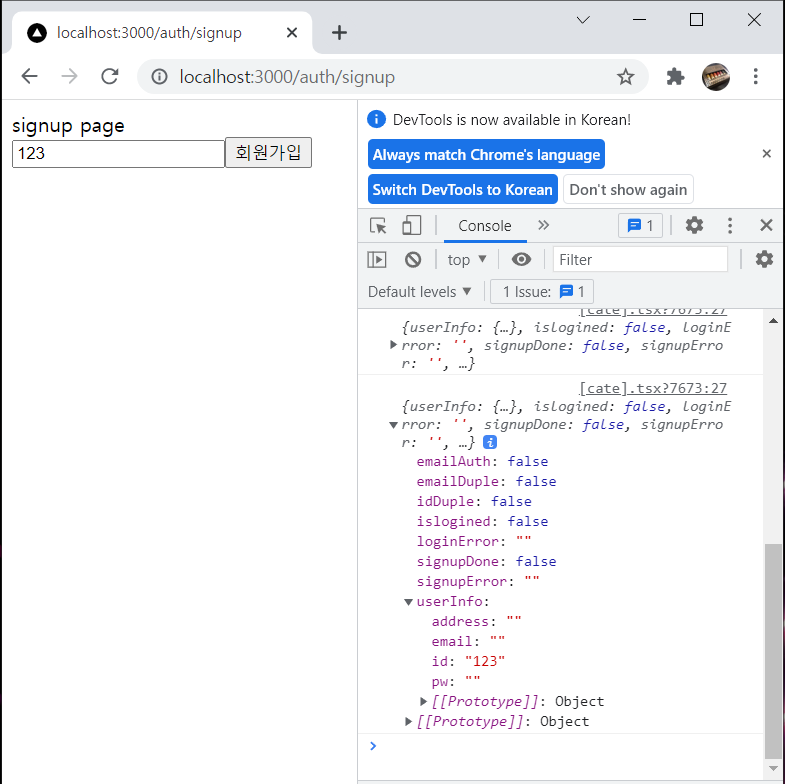
비밀번호 입력칸은 userState.userInfo.pw 안에 들어갈 것이고 비밀번호 확인 입력칸은 pwdCertText 안에 들어갈 것이다.
- 각각 input의 border를 검증이 완료되지 않으면 빨간색으로 지정한다.
- userState.userInfo.pw의 값이 4보다 작을 땐 '4글자 이상 입력해주세요' 문구를 나타내준다.
- pwdCertText의 값이 userState.userInfo.pw 의 값과 다르면 '비밀번호가 다릅니다' 문구를 나타내준다.
- 모든 조건이 성립하면 border의 색깔을 lightgreen으로 바꾼다.
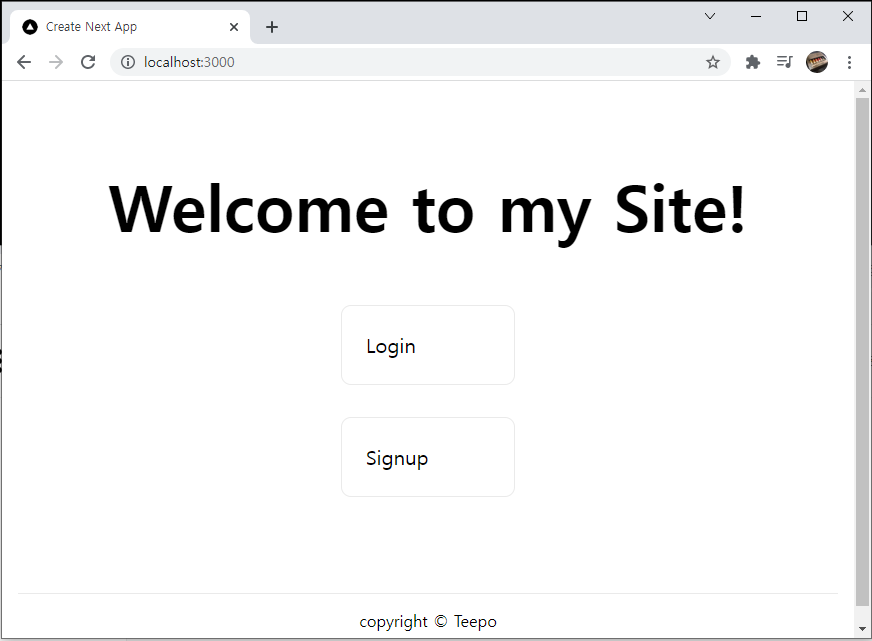
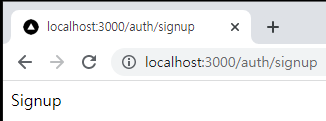
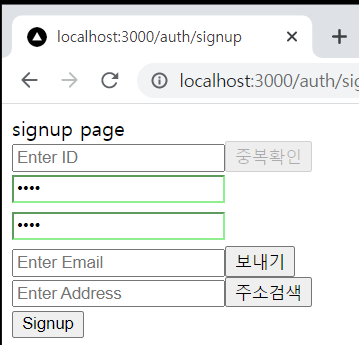
화면구성을 보자.
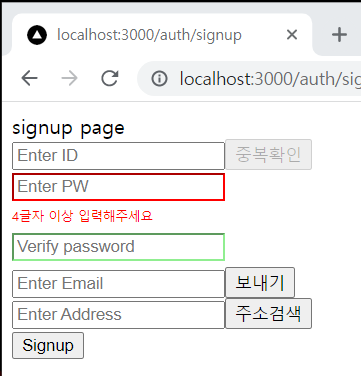
4글자 입력은 했지만 비밀번호 확인 텍스트와 다를 경우 :
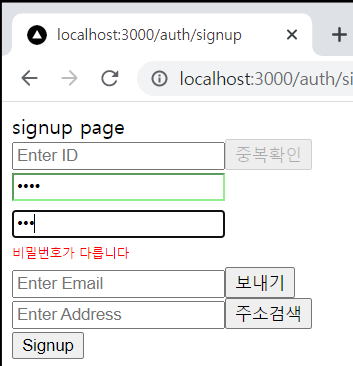
두가지 모두 성립할 경우 :
이 밖에도 숫자, 영문, 특수문자 조합 등 다양한 조건으로 validation 을 설정할 수 있다.
이메일 전송 방식은
- 이메일을 입력하고 보내기 버튼을 누른다.
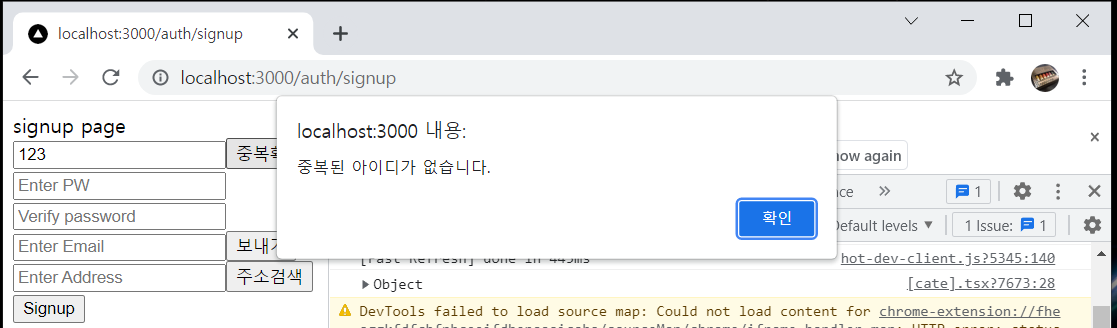
- 만약 이메일이 중복되면 아무것도 실행되지 않는다.
- NestJS에서 입력한 주소로 이메일을 보내준다.
- 보내기 버튼이 재전송 버튼으로 바뀌게되고 남은 시간이 보여진다.
- 재전송 버튼을 눌렀을 경우 남은 시간이 reset 된다.
- 인증번호 입력칸과 확인버튼이 생성된다.
- 확인 버튼을 눌러서 인증번호가 확인되면 확인버튼도 비활성화된다.
- 남은 시간이 만료되면 인증번호 입력칸과 확인버튼이 사라지고 보내기버튼이 활성화된다.
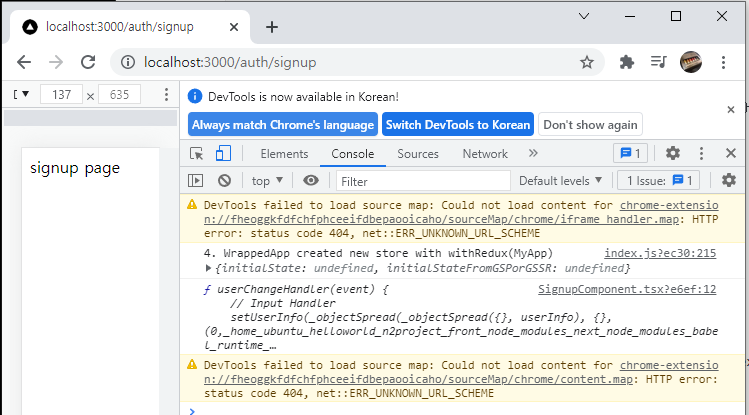
이메일 전송에 필요한 state를 선언해준다.
const [emailsendOK,setEmailSendOK] = useState<boolean>(false); // email send ( 인증번호 입력칸과 확인버튼 활성화 )
이메일 보내기 버튼에 onClick을 추가하고 input과 button의 disabled 옵션에 useState.emailAuth를 넣어서 인증이 완료되면 비활성화 되게 한다.
<div>
    <input
        name="email"
        type="email"
        placeholder="Enter Email"
        onChange={userChangeHandler}
        disabled={userState.emailAuth}/>

    <button
    	type="button"
    	onClick={emailSend}
        disabled={userState.emailAuth}>
    보내기
    </button>
</div>
emailSend 함수를 만들어준다.
const emailSend = () => {
}
아이디 중복할 때와 비슷하게 이메일 중복확인, 이메일 보내기를 act, type, action, reducer를 만들고 실행해줄 것이다.
act와 type을 만들어준다.
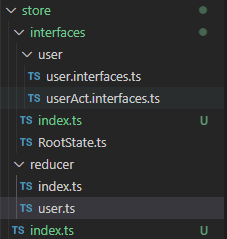
userAct.interfaces.ts
export enum actionTypesUser {
    USER_INIT = "USER_INIT", // state 초기화
    USER_STATE = "USER_STATE", // userState 변경
    USER_INFO = "USER_INFO",  // userInfo 변경
    USER_ID_DUPLICATE = "USER_ID_DUPLICATE", // ID 중복 검사
    USER_EMAIL_DUPLICATE = "USER_EMAIL_DUPLICATE", // Email 중복검사
    USER_EMAIL_SEND = "USER_EMAIL_SEND" // Email 보내기
}

export type ActionsUser = UserInit | UserState | UserInfo | UserIdDuplicate
                         | UserEmailDuplicate | UserEmailSend

export interface UserInit {
    type : actionTypesUser.USER_INIT;
    data : any;
}

export interface UserState {
    type : actionTypesUser.USER_STATE;
    data : any;
}

export interface UserInfo {
    type : actionTypesUser.USER_INFO;
    data : any;
}

export interface UserIdDuplicate {
    type : actionTypesUser.USER_ID_DUPLICATE;
    payload : any;
}

export interface UserEmailDuplicate {
    type : actionTypesUser.USER_EMAIL_DUPLICATE;
    payload : any;
}

export interface UserEmailSend {
    type : actionTypesUser.USER_EMAIL_SEND;
    payload : any;
}
리듀서에 추가해준다.
user_reducer.ts
        case actionTypesUser.USER_EMAIL_DUPLICATE:
            return {
                ...state, data : action.payload
            }
        case actionTypesUser.USER_EMAIL_SEND:
            return {
                ...state, data : action.payload
            }
action을 만들어준다.
user_action.ts
export async function userEmailDuplicate (email : string) {
    const request = Axios.get('/api/email/'+email)
    .then(response => response.data)

    return {
        type : actionTypesUser.USER_ID_DUPLICATE,
        payload: request
    }
}

export async function userEmailSend (email : string) {
    const request = Axios.post('/api/email/send',{email : email})
    .then(response => response.data)

    return {
        type : actionTypesUser.USER_EMAIL_SEND,
        payload: request
    }
}
axios post 메소드로 백엔드에 데이터를 보냈다.
다시 SignupComponent.tsx 파일로 돌아와 emailSend 함수를 수정한다.
SignupComponent.tsx
    const emailSend = () => {
        if(userState.userInfo.email !=='' && userState.userInfo.email.indexOf('@') !== -1) { // 입력된 값이 존재하고 email 형식에 맞을경우
            dispatch(userEmailDuplicate(userState.userInfo.email)).then((req : any) => {
                if(!req.payload.result) { // 이메일이 이미 존재할 때
                    alert('해당 이메일이 이미 존재합니다.');
                }else {
                        dispatch(userEmailSend(userState.userInfo.email)).then((req : any) => {
                            if(req.payload.result) { // 이메일 보내기 성공했을 때
                                setEmailSendOK(true)
                                // 성공했을 경우 로직
                            }else {
                                alert('이메일 전송이 실패됐습니다.')
                            }
                        });
                }
            })
        }
    }
이메일이 존재하는지 확인하고, 중복되지 않을 경우에
- 인증번호에 대한 쿠키를 시간을 설정해서 bcrypt로 암호화한 후 생성해준다.
- 보내기 버튼을 재전송 버튼으로 바꾼다.
- 재전송 버튼을 눌렀을 때 남은시간은 리셋된다.
- 하단에 인증번호 입력칸과 확인버튼을 만든다.
- 남은시간이 0이되면 인증번호 입력칸과 확인버튼이 사라지고 재전송이 보내기로 바뀐다.
이메일 중복 여부부터 다음 포스터에서 다루겠다.
728x90
반응형
'Nest - Next' 카테고리의 다른 글
| Nest - Next | n2server | Signup | Email Send(3) (0) | 2021.10.20 |
|---|---|
| Nest - Next | n2server | Signup | Email Send(2) (0) | 2021.10.20 |
| Nest - Next | n2server | Signup | ID_Duplicate(back) (0) | 2021.10.19 |
| Nest - Next | n2server | Signup | ID_Duplicate(front) (0) | 2021.10.19 |
| Nest - Next | n2server | Signup | onChangeHandler (0) | 2021.10.19 |