728x90
반응형
로그인 회원가입을 위한 페이지를 세팅해보자. 먼저 index.tsx 파일을 수정해준다.
index.tsx
import type { NextPage } from 'next'
import Head from 'next/head'
import Image from 'next/image'
import Link from 'next/link'
import styles from '../styles/Home.module.css'

const Home: NextPage = () => {
  return (
    <div className={styles.container}>
      <Head>
        <title>Create Next App</title>
        <meta name="description" content="Generated by create next app" />
        <link rel="icon" href="/favicon.ico" />
      </Head>

      <main className={styles.main}>
        <h1 className={styles.title}>
          Welcome to my Site!
        </h1>

        <div className={styles.grid}>
          <Link href={{
            pathname: '/auth/login'
          }}>
            <a className={styles.card}>
              <p>
                Login
              </p>
            </a>
          </Link>
          <Link href={{
            pathname: '/auth/signup'
          }}>
            <a className={styles.card}>
              <p>
                Signup
              </p>
            </a>
          </Link>
        </div>
      </main>

      <footer className={styles.footer}>
        <p>
        copyright © Teepo
        </p>
      </footer>
    </div>
  )
}

export default Home
실행해본다.
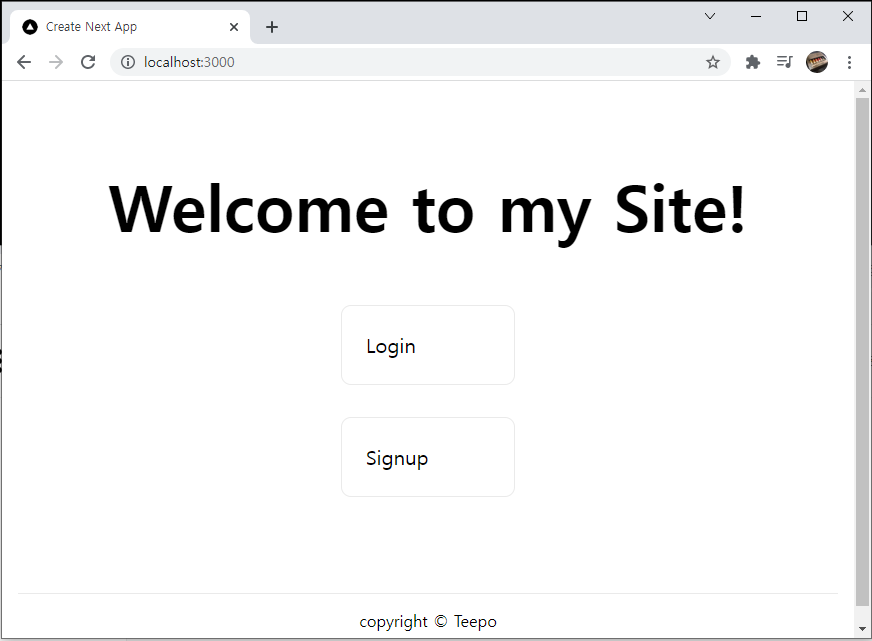
간단하게 Login, Signup 버튼이 나오고, Link href 옵션에 '/auth/login' 과 '/auth/signup' 을 써주었다.
이제 우린 auth라는 파일을 만들고 SSR로 받아오는 데이터를 읽어 어떤 컴포넌트를 보여줄 것인지 정의할 것이다.
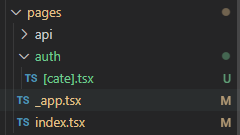
경로는 /auth/[cate].tsx가 되고, [cate].tsx 부분에 무슨 문자열이 오는지에 따라 다른 컴포넌트를 보여줄 것이다.
지금 상태에서 웹을 확인해보면
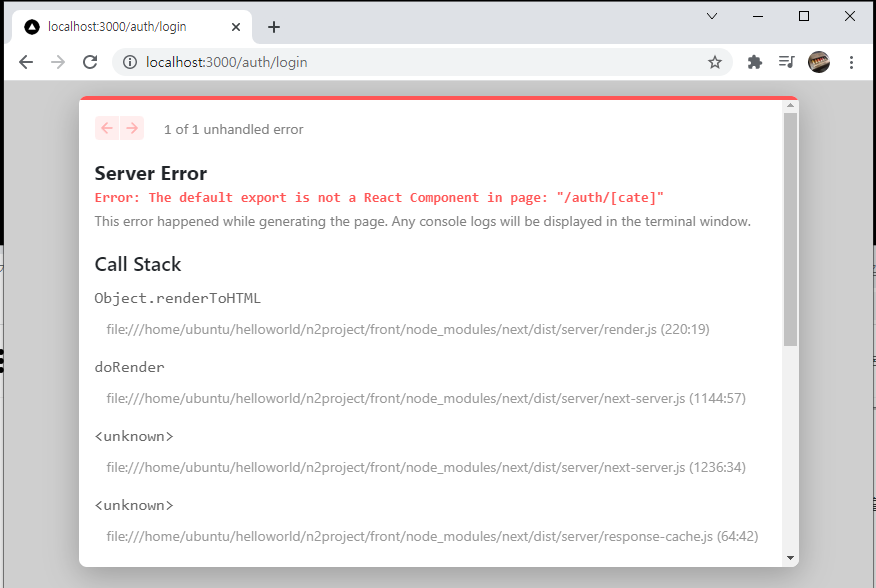
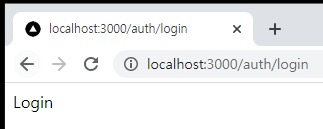
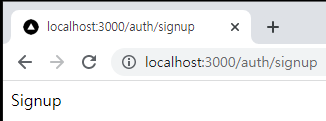
이런 문구가 뜰 것이다. [cate].tsx 파일을 수정해보자.
/pages/auth/[cate].tsx
import { GetServerSideProps, GetStaticPaths, GetStaticProps } from 'next'
import type { NextPage } from 'next'

interface Props {
    CateData : string
}

const Auth:NextPage<Props> = ({CateData}) => {
    console.log(CateData)
    return (
        <div className='auth'>
            {(CateData === 'login') ? "Login" : ""}
            {(CateData === 'signup') ? "Signup" : ""}
        </div>
        )
}


export default Auth;


export const getServerSideProps:GetServerSideProps = async (context) => {
    const CateData = context.query.cate;
    return {
        props: {
            CateData
        }
    }
}
getServerSideProps로 받아온 데이터의 cate 값을 읽어 어떤 문자열이 들어오는지 읽고,
삼항연산자로 문자열에 따라 보여줄 내용을 정의했다. 나중에 css 추가를 위해 className에 'auth'를 추가해주었다.
물론 각각 다른 파일들로 만드는 방법도 있다. 하지만 나는 로그인, 회원가입에서 Header를 같이 쓰고싶었기 때문에
이렇게 구조를 정의했다.
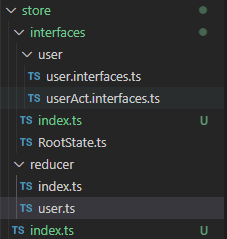
이번엔 Component들을 만들어보자. 루트경로에 src 폴더와 하위에 component 폴더를 만들고 아래 파일들을 작성한다.
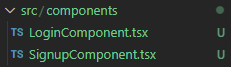
LoginComponent.tsx
import type { NextPage } from 'next'

interface Props {

}

const Login:NextPage<Props> = () => {
    return (
        <div className='auth'>
            Login
        </div>
        )
}


export default Login
SignupComponente.tsx
import type { NextPage } from 'next'

interface Props {

}

const Signup:NextPage<Props> = () => {
    return (
        <div className='auth'>
            Signup
        </div>
        )
}


export default Signup
이제 [cate].tsx 파일에서 컴포넌트를 사용해보자.
[cate].tsx
import { GetServerSideProps, GetStaticPaths, GetStaticProps } from 'next'
import type { NextPage } from 'next'
import LoginComponent from '../../src/components/LoginComponent'
import SignupComponent from '../../src/components/SignupComponent'
interface Props {
CateData : string
}
const Auth:NextPage<Props> = ({CateData}) => {
return (
<div className='auth'>
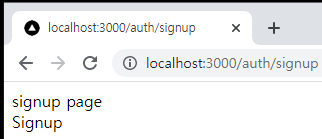
{CateData} page
{(CateData === 'login') ? <LoginComponent /> : ""}
{(CateData === 'signup') ? <SignupComponent /> : ""}
</div>
)
}
export default Auth;
export const getServerSideProps:GetServerSideProps = async (context) => {
const CateData = context.query.cate;
return {
props: {
CateData
}
}
}
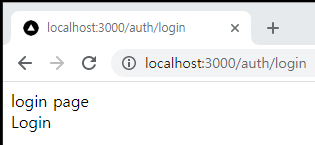
Header에 쓰일 부분에 임의로 어떤 페이지인지 나타내주는 문구를 작성했다.
컴포넌트들이 잘 나타나는지 확인해본다.
728x90
반응형
'Nest - Next' 카테고리의 다른 글
| Nest - Next | n2server | Signup | ID_Duplicate(front) (0) | 2021.10.19 |
|---|---|
| Nest - Next | n2server | Signup | onChangeHandler (0) | 2021.10.19 |
| Nest - Next | n2server | Next Redux 세팅하기 (0) | 2021.10.18 |
| Nest - Next | n2server | 시작하기 (0) | 2021.10.15 |
| Nest - Next | nest-next npm | 프론트엔드(NextJS) (0) | 2021.10.14 |