로그인 시 인증관련을 위해 Passport와 JWT에 대해 다루어보겠다.
passport에 관한 내용
https://velog.io/@kdo0129/Passport%EB%A1%9C-%EB%A1%9C%EA%B7%B8%EC%9D%B8-%EA%B5%AC%ED%98%84%ED%95%98%EA%B8%B0
Passport로 로그인 구현하기
passport는 Node 용 인증 미들웨어다. 요청 인증이라는 단일 목적을 제공하기 위해 설계되었다.이번 surf 프로젝트에서는 다양한 인증 방식을 기획했다. (통합해서 로그인이라고 부르겠다.)종류를 살
velog.io
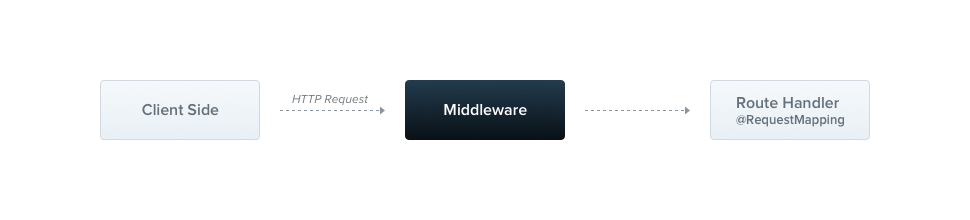
Passport는 커뮤니티에 잘 알려져 있고 성공적으로 많은 app 제품에 사용된 nodeJS의 가장 인기있는 인증관련 라이브러리이다. passport는 @nestjs/passport 모듈에 통합되었습니다.
JWT(Json Web Token)에 관한 내용은 아래 링크를 확인하자. 구글링해서도 금방 찾을 수 있다.
http://www.opennaru.com/opennaru-blog/jwt-json-web-token/
JWT (JSON Web Token) 이해하기와 활용 방안 - Opennaru, Inc.
JWT 는 JSON Web Token의 약자로 전자 서명 된 URL-safe (URL로 이용할 수있는 문자 만 구성된)의 JSON입니다.JWT는 속성 정보 (Claim)를 JSON 데이터 구조로 표현한 토큰으로 RFC7519 표준 입니다.
www.opennaru.com
Nest Authentication 공식문서
https://docs.nestjs.com/security/authentication
Documentation | NestJS - A progressive Node.js framework
Nest is a framework for building efficient, scalable Node.js server-side applications. It uses progressive JavaScript, is built with TypeScript and combines elements of OOP (Object Oriented Progamming), FP (Functional Programming), and FRP (Functional Reac
docs.nestjs.com
Local Strategy Passport
이제 우린 NestJS에서 지원해주는 Passport, JWT 모듈을 사용할 것이기 때문에
이전에 작성해두었던 user.controller.ts의 login과 user.service.ts의 login 함수를 삭제해도 된다.
필요한 패키지를 설치한다.
$ npm install --save @nestjs/passport passport passport-local
$ npm install --save-dev @types/passport-local

$ npm install --save @nestjs/jwt passport-jwt
$ npm install --save-dev @types/passport-jwt
1. 인증관련 모듈을 만들기 위해 auth 모듈, 서비스를 생성한다.
$ nest g module auth
$ nest g service auth
2. auth.service.ts를 다음과 같이 수정한다.
/auth/auth.service.ts
import { Injectable } from '@nestjs/common';
import { JwtService } from '@nestjs/jwt';
import { InjectModel } from '@nestjs/mongoose';
import { Model } from 'mongoose';
import { CreateUserDto } from 'src/user/dto/create-user.dto';
import { User, UserDocument } from 'src/user/schemas/user.schema';
//bcrypt
import * as bcrypt from 'bcrypt'

@Injectable()
export class AuthService {
    constructor(@InjectModel(User.name) private userModel: Model<UserDocument>,
    private jwtService: JwtService) {}

  async validateUser(username: string, password : string): Promise<any> {
    const user = await this.userModel.findOne({id : username}); // ID가 존재할 경우
    if (user) {
      const result = await bcrypt.compare(password,user.pw);
      if(result) { // ID와 비밀번호가 일치할 경우
        return {result : "success",user : user};
      }
      else { // ID는 맞지만 비밀번호가 틀릴 경우
        return {result : "Pwfailed"};
      }
    }
    else { // ID 자체가 없는 경우
      return {result : "Idfailed"};
    }
  }

  async login(user : any, res : any) {
    const payload = { id: user.id };
    const token = await this.jwtService.sign(payload);
    res.cookie('token', token, {path: '/', expires: new Date(Date.now()+10000)}); // 쿠키생성
    return {
      result : "success",
      access_token: token
    };
  }
}
- 나중에 local.strategy.ts 파일에서 쓰일 validateUser 함수를 구현했다.
- 처음 api를 타기 전 클라이언트에서 보낸 username과 password가 DB에 존재하는지 확인한다.
- 로그인 할 때 쓰일 login 함수를 선언했다. (user.controller에서 쓰임)
- 성공 시 쿠키를 생성하고 토큰과 결과값을 반환한다.
3. authModule에 User 모델을 가져온다.
/auth/auth.module.ts
import { Module } from '@nestjs/common';
import { JwtModule } from '@nestjs/jwt';
import { MongooseModule } from '@nestjs/mongoose';
import { PassportModule } from '@nestjs/passport';
import { User, UserSchema } from 'src/user/schemas/user.schema';
import { AuthService } from './auth.service';
import { LocalStrategy } from './local.strategy';
import { JwtStrategy } from './jwt.strategy';
import { jwtConstants } from './constants';

@Module({
  imports : [MongooseModule.forFeature([{ name: User.name, schema: UserSchema }]),
],
  providers: [AuthService],
})
export class AuthModule {}
4. local.strategy.ts 파일과 jwt.strategy.ts 파일을 작성한다.
/auth/local.strategy.ts
import { Strategy } from 'passport-local';
import { PassportStrategy } from '@nestjs/passport';
import { Injectable, UnauthorizedException } from '@nestjs/common';
import { AuthService } from './auth.service';

@Injectable()
export class LocalStrategy extends PassportStrategy(Strategy) {
  constructor(private authService: AuthService) {
    super({
      username : "",
      password : ""
    });
  }

  async validate(username: string, password: string): Promise<any> {
    const result = await this.authService.validateUser(username,password); // ID,PW 검증
    // if (result.result !== "success") { // 검증 안될 경우 에러메세지 띄어줌
    //   throw new UnauthorizedException();
    // }
    return result;
  }
}
- 들어올 데이터인 username, password를 정의했다 ( 나중에 속성을 바꾸고 싶으면 super() 부분을 수정한다. )
- 그대로 authService의 validateUser 함수로 넘긴다.
/auth/jwt.strategy.ts
import { ExtractJwt, Strategy } from 'passport-jwt';
import { PassportStrategy } from '@nestjs/passport';
import { Injectable } from '@nestjs/common';
import { jwtConstants } from './constants';

@Injectable()
export class JwtStrategy extends PassportStrategy(Strategy) {
  constructor() {
    super({
      jwtFromRequest: ExtractJwt.fromAuthHeaderAsBearerToken(),
      ignoreExpiration: false,
      secretOrKey: jwtConstants.secret,
    });
  }

  async validate(payload: any) {
    return {  username: payload.username };
  }
}
- 차후에 validate 부분을 바꿀 것이다.
5. jwt 비밀키로 쓰일 contants파일을 생성하고 authModule를 수정해준다.
/auth/auth.module.ts
import { Module } from '@nestjs/common';
import { JwtModule } from '@nestjs/jwt';
import { MongooseModule } from '@nestjs/mongoose';
import { PassportModule } from '@nestjs/passport';
import { User, UserSchema } from 'src/user/schemas/user.schema';
import { AuthService } from './auth.service';
import { LocalStrategy } from './local.strategy';
import { JwtStrategy } from './jwt.strategy';
import { jwtConstants } from './constants';

@Module({
  imports : [MongooseModule.forFeature([{ name: User.name, schema: UserSchema }]),
  PassportModule,
  JwtModule.register({
    secret: jwtConstants.secret,
    signOptions: { expiresIn: '60s' },
  }),
],
  providers: [AuthService,LocalStrategy,JwtStrategy],
  exports: [AuthService],
})
export class AuthModule {}
- PassportModule과 Jwt 모듈을 가져왔고, 비밀키와 시간을 설정해주었다.
- 작성한 Strategy파일들을 providers에 담아줬다.
- 나중에 user Controller에서 Service를 쓰기위해 export 해주었다.
6. local-auth.guard.ts 와 jwt-auth.guard.ts 파일들을 작성한다. (user controller 에서 쓰인다.)
/auth/local-auth.guard.ts
import { Injectable } from '@nestjs/common';
import { AuthGuard } from '@nestjs/passport';

@Injectable()
export class LocalAuthGuard extends AuthGuard('local') {}
/auth/jwt-auth.guard.ts
import { Injectable } from '@nestjs/common';
import { AuthGuard } from '@nestjs/passport';

@Injectable()
export class JwtAuthGuard extends AuthGuard('jwt') {}
7. userModule에서 AuthModule을 import 한다.
user.module.ts
import { Module } from '@nestjs/common';
import { MongooseModule } from '@nestjs/mongoose';
import { UserService } from './user.service';
import { UserController } from './user.controller';
import { User, UserSchema } from './schemas/user.schema';
import { PassportModule } from '@nestjs/passport';
import { AuthModule } from 'src/auth/auth.module';


@Module({
  imports: [
    MongooseModule.forFeature([{ name: User.name, schema: UserSchema }]),
    AuthModule
],
  controllers: [UserController],
  providers: [UserService],
  exports: [UserService]
})
export class UserModule {}
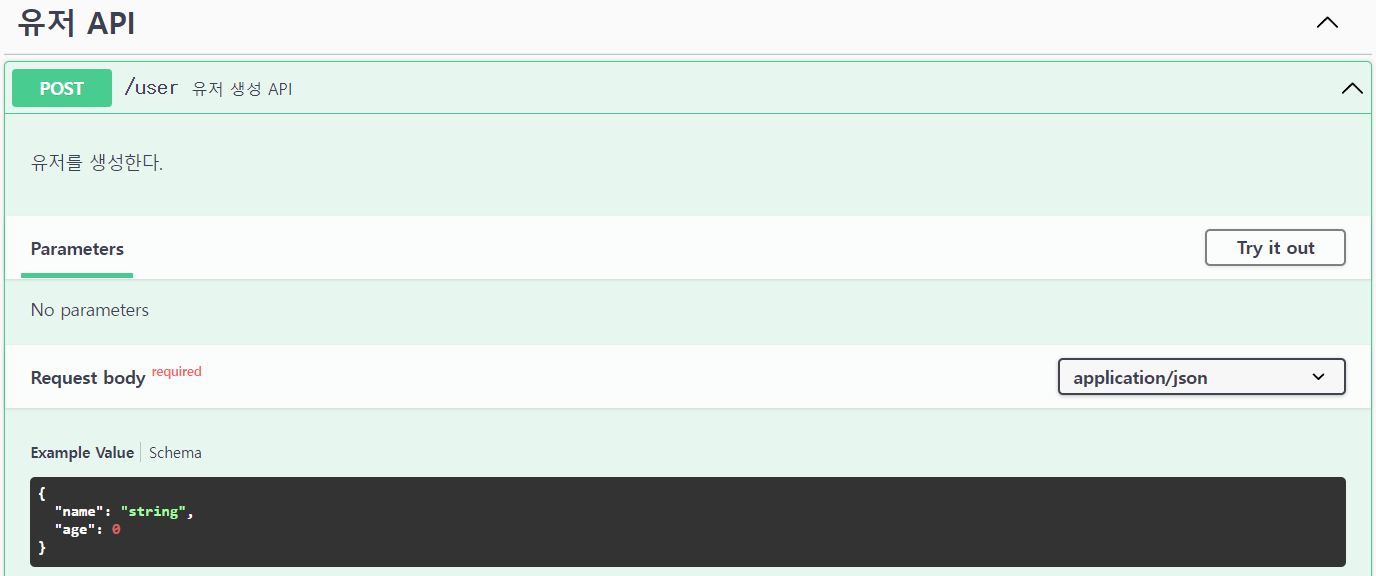
8. userController에서 api를 다시 지정해준다. 하는김에 토큰 확인하는 profile도 만들었다.
user.controller.ts
import { Controller, Request, Response, Get, Post, Body, Patch, Param, Delete, Res, Req, UseGuards } from '@nestjs/common';
import { UserService } from './user.service';
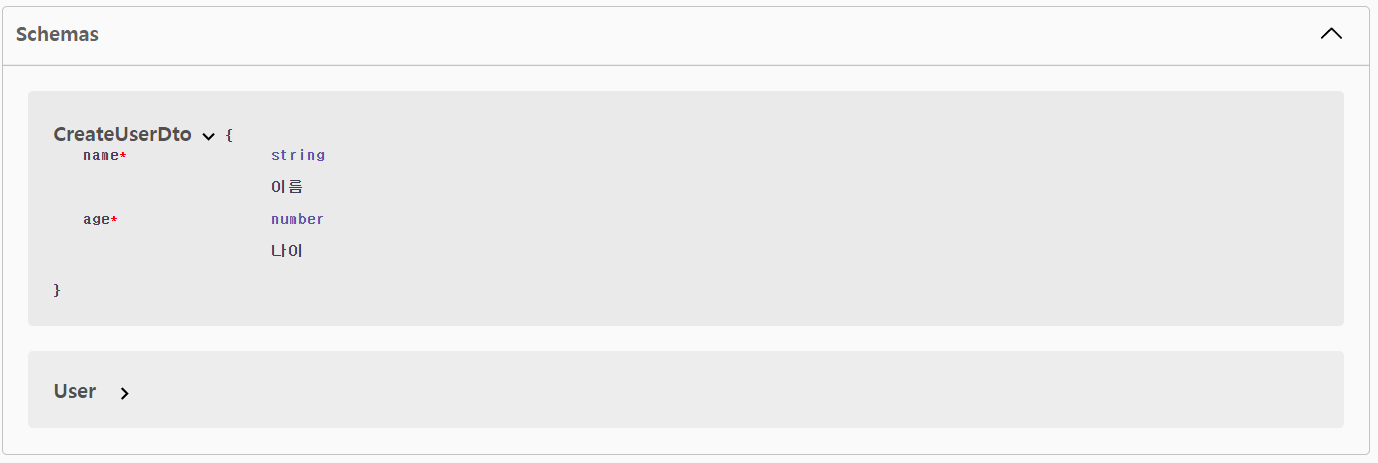
import { CreateUserDto } from './dto/create-user.dto';
import { UpdateUserDto } from './dto/update-user.dto';
//auth
import { LocalAuthGuard } from '../auth/local-auth.guard';
import { JwtAuthGuard } from '../auth/jwt-auth.guard';
import { AuthService } from '../auth/auth.service';
@Controller('user')
export class UserController {
constructor(
private readonly userService: UserService,
private authService: AuthService
) {}
@Get(':id')
findOne(@Param('id') id: string) {
return this.userService.findOne(id);
}
@Post('signup')
async signUp(@Res({ passthrough: true}) res : any, @Req() req : any) {
return this.userService.signUp(req.body.userInfo);
}
@UseGuards(LocalAuthGuard)
@Post('login')
async login(@Request() req, @Res({ passthrough: true }) res : any) {
if(req.user.result === "success") { // ID,PW 둘다 확인 됐을 경우
return this.authService.login(req.user.user, res);
}
else {
return {result : req.user.result}; // 둘 중 하나 이상이 틀릴 경우
}
}
@UseGuards(JwtAuthGuard)
@Get('profile')
getProfile(@Request() req) {
return req.user;
}
}
- api 요청이 들어온다
- UseGuards('local')에서 유저의 정보가 잘 들어왔는지 local-strategy 파일의 validate까지 확인한다.
- authService의 validateUser에서 DB를 조회하고, 상황에 맞는 값을 반환한다.
- local-strategy 파일에서 다시 Controller로 값을 req.user에 담아서 반환한다.
- ID, PW 중 한 개 이상이 틀릴 경우 validateUser 함수에서 반환했던 실패 반환값을 그대로 반환한다.
- 성공했을 경우 authService의 login함수로 들어가 쿠키와 토큰을 생성하고, 토큰을 반환한다.
이제 원래 작성했었던 LoginComponent와 user_action 을 수정하자.
LoginComponent.tsx
const LoginHandler = (event : any) => {
event.preventDefault();
dispatch(userLogin(userState.userInfo.id,userState.userInfo.pw)).then((req : any) => {
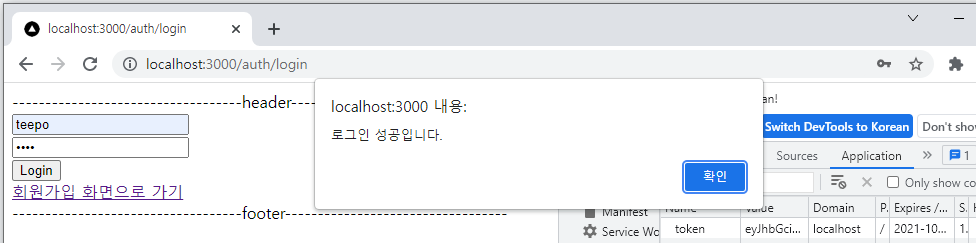
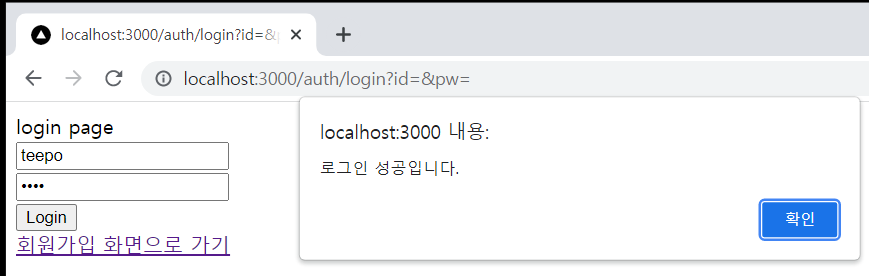
if(req.payload.result === "success") { // 로그인 성공 시
alert('로그인 성공입니다.');
router.push(`/dashboard`)
}
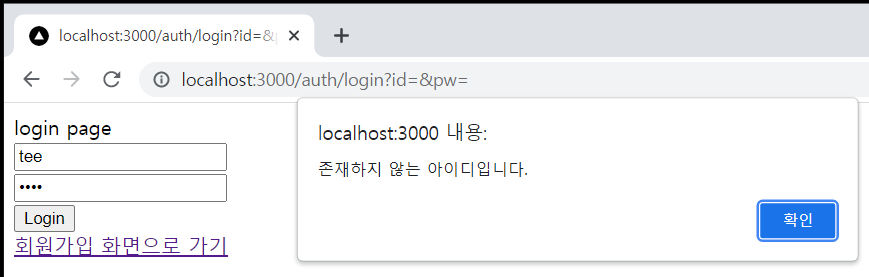
else if(req.payload.result === "IdFailed") { // 아이디가 없을 경우
alert('존재하지 않는 아이디입니다.');
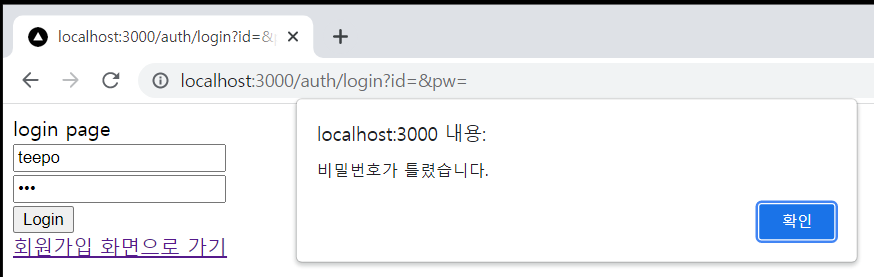
}else if(req.payload.result === "PwFailed"){ // 비밀번호가 틀릴경우
alert('비밀번호가 틀렸습니다.');
}else { // 그 외의 경우
alert('로그인 실패입니다.');
}
})
}
dispatch의 userLogin 함수에 전달값을 수정했다.
user_action.ts
export async function userLogin (id : string, pw : string) {
    const request = Axios.post('/api/user/login',{"username": id, "password": pw})
    .then(response => response.data)

    return {
        type : actionTypesUser.USER_LOGIN,
        payload: request
    }
}
전달받는 값과 보내는 값을 백엔드에 보내는 요청에 맞게 수정했다.
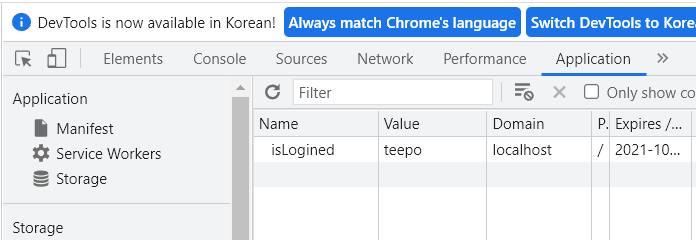
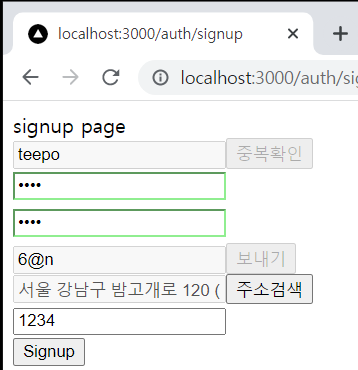
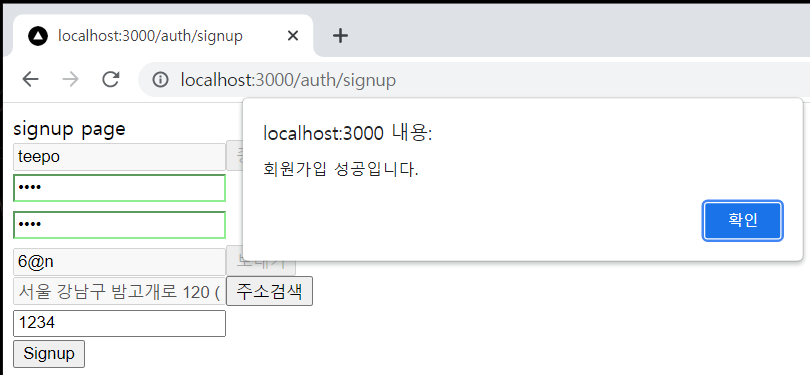
이제 화면에서 다시 로그인을 해보자. ( 헤더 부분은 신경 안쓰셔도 됩니다. )
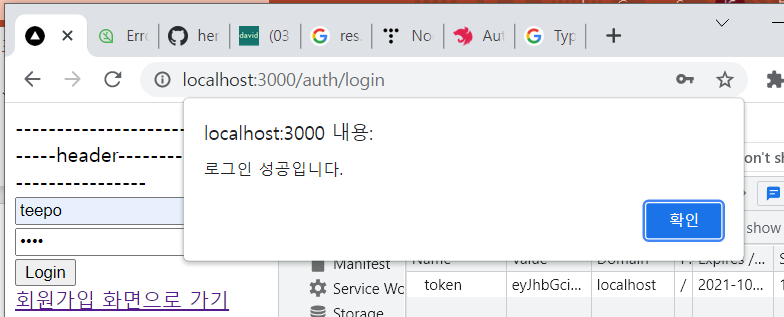
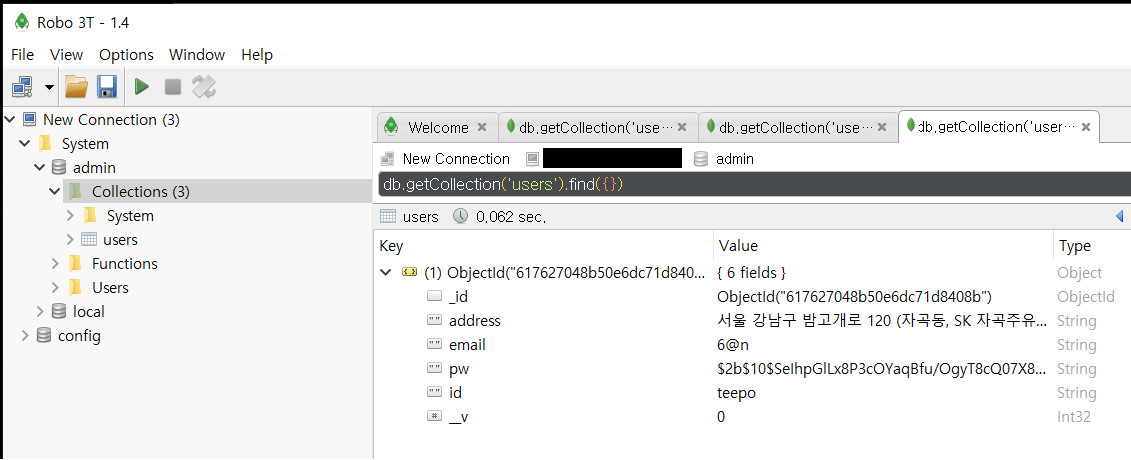
로그인이 성공했을 때 토큰이 쿠키에 담긴 것을 확인할 수 있다.