Nest - Next | nest-next npm | 시작하기
https://www.npmjs.com/package/nest-next
nest-next
Nestjs module to allow for server side rendering with Nextjs
www.npmjs.com
nest-next npm모듈에 관한 내용은 위 사이트를 통해 자세히 알 수 있다.
먼저 아래 github repository에서 git clone을 해준다.
https://github.com/kyle-mccarthy/nest-next
GitHub - kyle-mccarthy/nest-next: Render Module to add Nextjs support for Nestjs
Render Module to add Nextjs support for Nestjs. Contribute to kyle-mccarthy/nest-next development by creating an account on GitHub.
github.com
$ git clone git@github.com:kyle-mccarthy/nest-next.git
그럼 아래와 같이 폴더들이 생기는데, 우리는 이 중에서 examples 하위 폴더인 basic만 이용할 것이다.
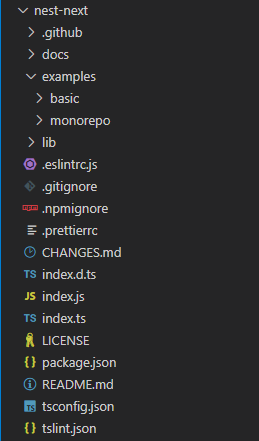
우리가 하는 모든 것들은 basic폴더 안에서 이루어질 것이다.
npm-check-updates
pakage들을 최신버전으로 업데이트 해주기 위해 npm-check-updates를 설치하고 업데이트 해준다.
$ sudo npm install -g npm-check-updates
$ ncu -u
$ sudo npm i
pakage.json
  "scripts": {
    "dev": "nodemon src/main.ts",
    "build:clean": "rimraf .next",
    "build:ui": "npx next build",
    "build:server": "npx tsc --project tsconfig.server.json && npx babel .next/production-server -d .next/production-server --extensions \".js\"",
    "build": "yarn build:clean && yarn build:ui && yarn build:server",
    "start": "cross-env NODE_ENV=production node .next/production-server/src/main.js"
  },
pakages.json 내에 scripts를 보면 우리가 실행할 수 있는 명령어들이 명시되어있다.
- dev : src/main.ts 파일을 nodemon으로 실행한다.
- build:clean : .next파일을 제거한다.
- build:ui : next를 빌드해준다.
- build:server : next 서버측을 빌드해준다.
- build : 위의 세가지 명령어를 함께 실행해준다.
- start : 프로젝트를 배포한다.
혹시 yarn이 아니라 npm으로 하고싶으면 build부분을 아래와 같이 바꿔준다.
"build": "npm run build:clean && npm run build:ui && npm run build:server",
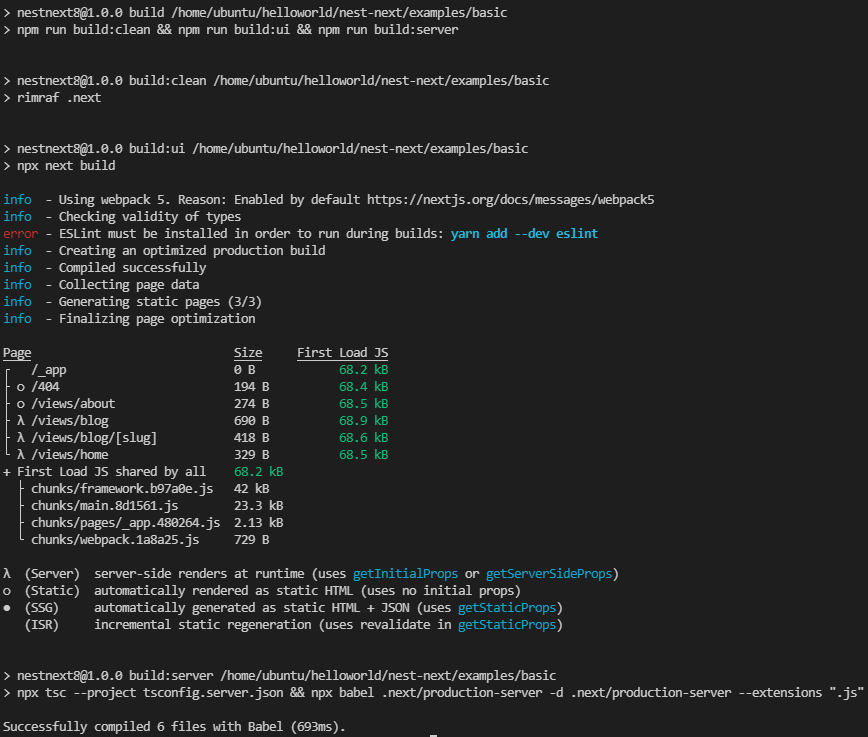
이제 빌드를 해보자.
$ npm run build
아래와 같이 eslint에 에러가 뜬 것을 볼 수 있다.
ESLint
ESLint 는 ES 와 Lint를 합친것이다.
ES는 Ecma Script로서, Ecma라는 기구에서 만든 Script. 즉 표준 자바스크립트를 의미한다.
Lint는 에러가 있는 코드에 표시를 달아놓는 것을 의미한다.
따라서 ESLint는 자바스크립트 문법에서 에러를 표시해주는 도구를 의미한다.
아래 링크에 접속하면 ESLint에 관한 내용이 자세히 나와있다.
https://eslint.org/docs/user-guide/getting-started
Getting Started with ESLint
Getting Started with ESLint ESLint is a tool for identifying and reporting on patterns found in ECMAScript/JavaScript code, with the goal of making code more consistent and avoiding bugs. In many ways, it is similar to JSLint and JSHint with a few exceptio
eslint.org
이 프로젝트에서 아직 ESLint 에러를 고치는 방법을 알지 못하였기 때문에 알게되면 포스트를 수정하겠다.
웹에서 명령어를 실행하기 전에 pakage.json에서 바꾸어야 할 부분이 있다.
npm run start 부분을 다음과 같이 바꾸어주자.
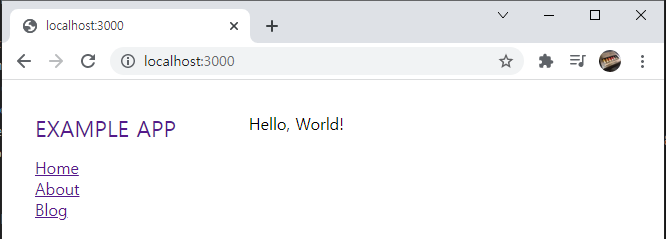
"start": "npx next start"
이제 npm run start 명령어를 실행해주면 웹에서 잘 뜨는 것을 볼 수 있다.
만약 실행 포트를 바꾸고 싶으면 다음과 같이 바꿀 수 있다.
"start": "sudo npx next start -p 80"
포트 변경에 관한 내용은 아래 링크에서 자세히 확인할 수 있다.
Next.js 실행 포트 변경 방법
package.json 파일의 scripts에 -p 옵션을 주고 원하는 포트를 입력한다.PORT=2345 npm run dev 실행 시 2345포트에서 실행된다.맥, 리눅스 계열에서만 사용가능하며, 윈도우에서는 불가능하다.npm i -D cross-envcr
velog.io